This article is meant to help users add the GoLinks Notion integration and understand how to use it. If you do not already have a Notion account, this article will take you to the Notion website where you can create an account.
Where do I go and how do I add the Notion Integration to my workspace?
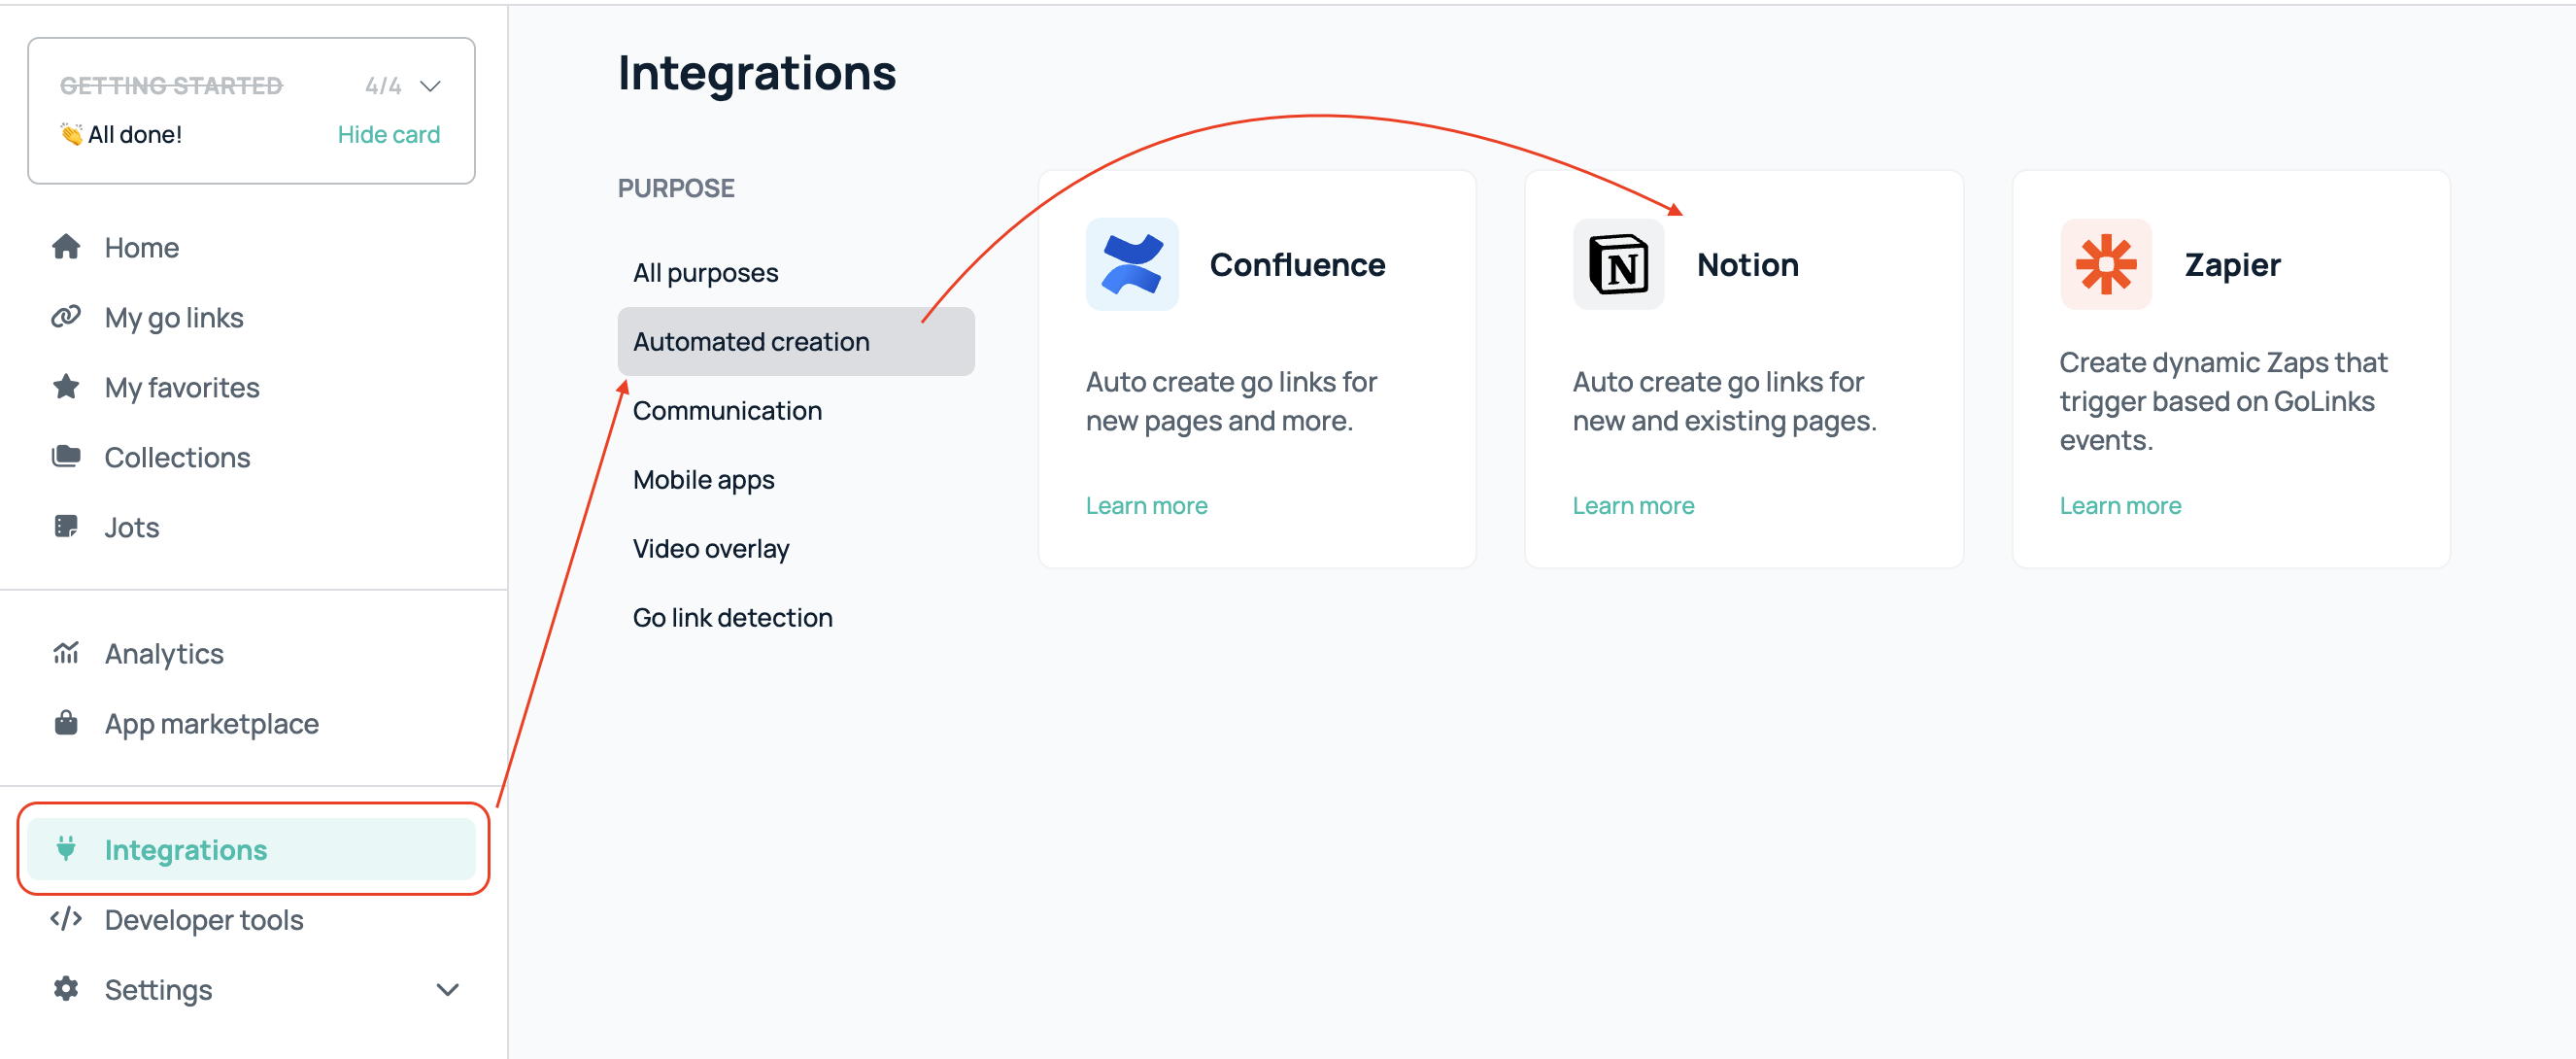
- Login and go to the GoLinks dashboard.
- In the Left hand rail , select “Integrations“
- In “Integrations”, click the application labeled “Notion” under the purpose of “Automated Creation.
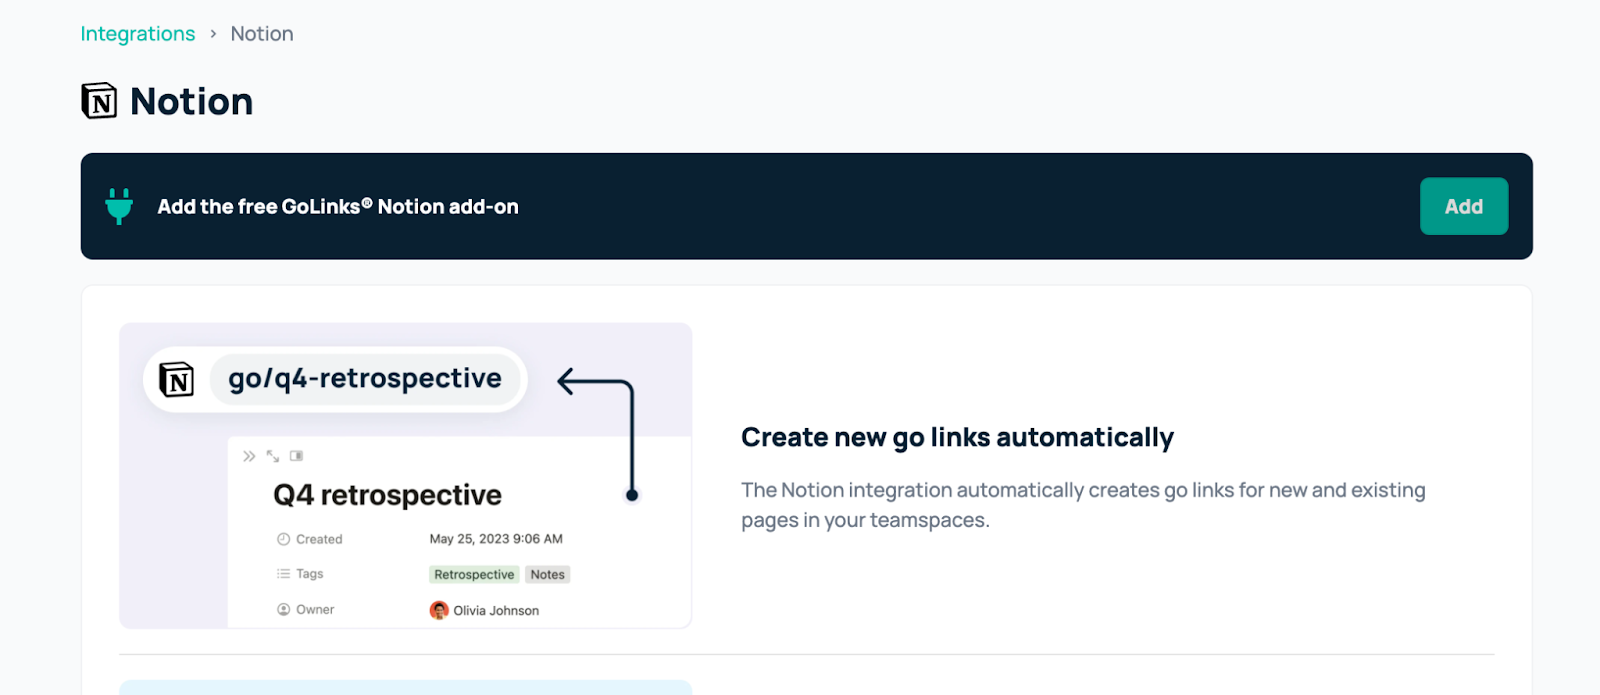
- In the upper right corner you will see a button to add the integration – click this. (You must be a GoLinks admin to add this to your company’s workspace)


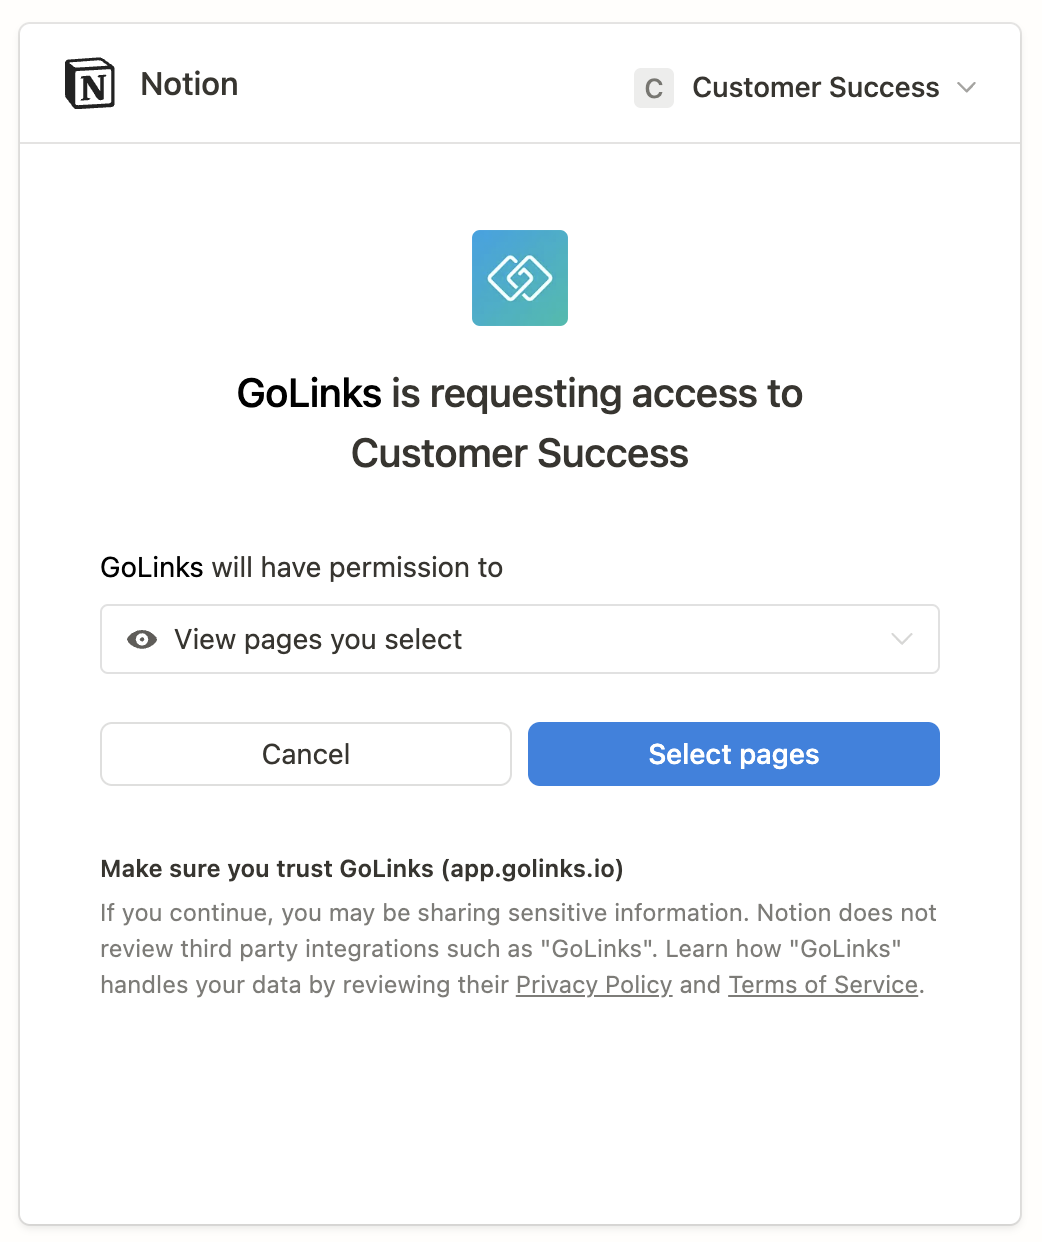
- Once you have clicked the add button, you will be redirected to either a sign in page, or a permissions page. If you are not signed in or signed up for Notion, go ahead and complete this step. Once completed, you will go through the process of providing GoLinks specific permissions within your Notion workspace.
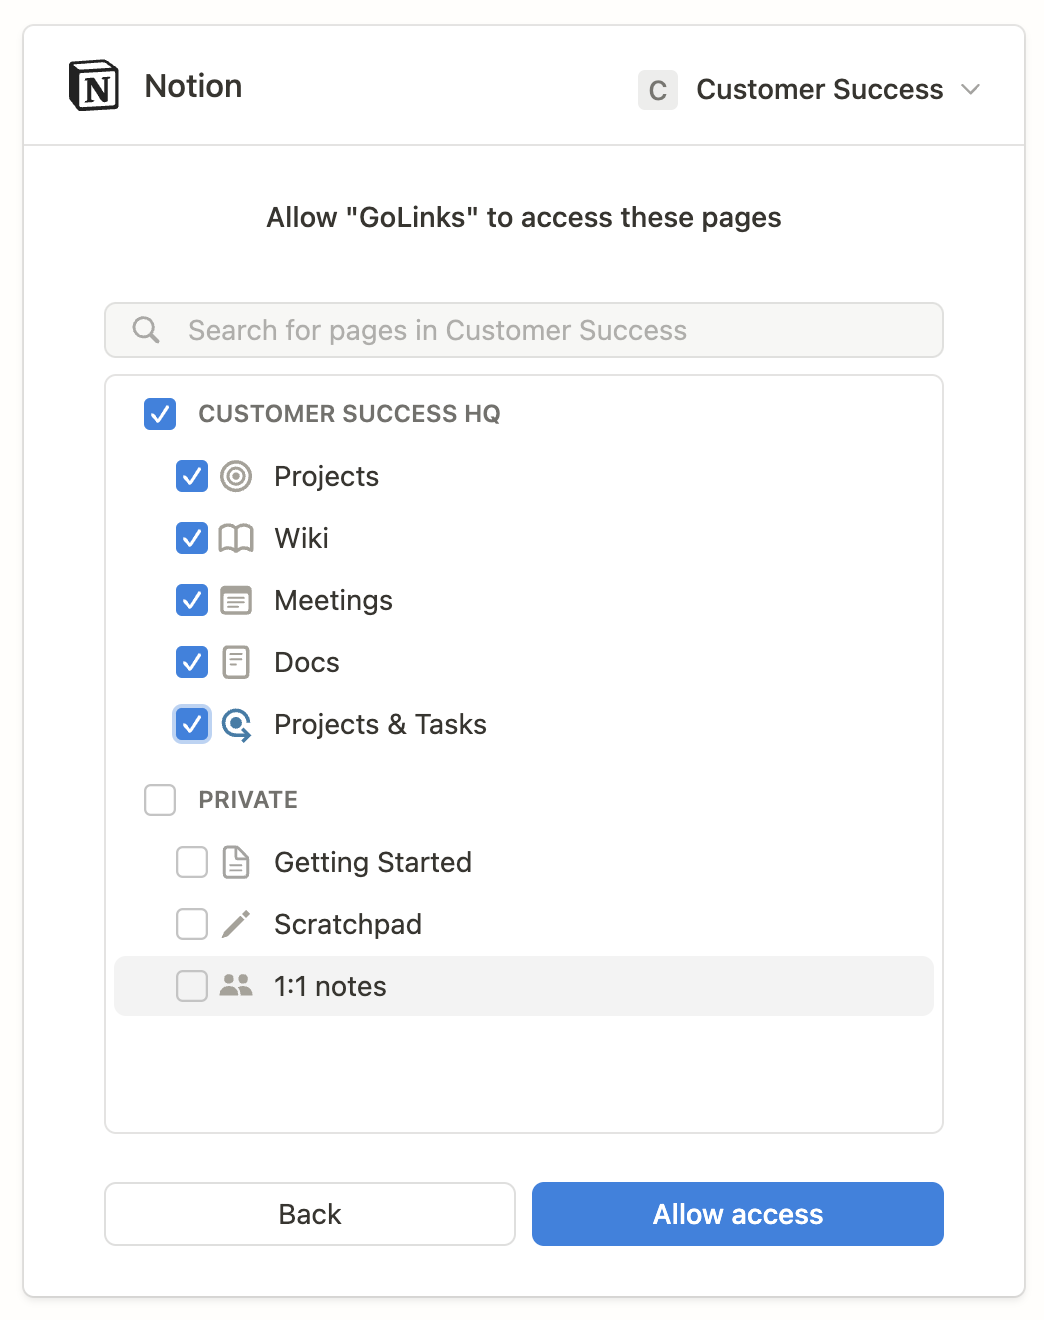
- You will be required to allow GoLinks to view pages you select. This page allows you to select the Notion pages and/or workspaces that can automatically generate new go links.

- You can grant GoLinks access to specific sections of your Notion workspaces, or you can enable it for one or more Notion workspaces. To give permission to an entire workspace, select the box(es) at the very top next to the workspace’s name.

- Once completed, you can either head to the GoLinks or Notion dashboard.
Using the GoLinks Notion Integration
- Once the integration is complete, you can easily create new go links for new pages within your Notion workspace. Make sure that you gave GoLinks permissions for the specific section or workspace that you are wanting to create go links in.
- To create a new go link, create a new page within one of those segments you gave permissions to. Whatever you name the page is what the go link name will be that’s automatically created for you.
- Once you save the page, the go link will automatically generate based off of the page’s name. This link will be saved under your name for ownership.
- For example, if a page called “reading list” is created but someone else has already created a go link for “go/reading-list”, the new go link will be saved as “go/reading-list-2”. There are a couple ways you can verify which name your go link will have.
- The first option is to head to your GoLinks dashboard. Here you can sort by your go links. You can also view by your recently created. This will let you see what name that page ended up receiving.

- If you do not want to leave the page, you can check by using the GoLinks extension. This will let you see if a go link already exists for the page and what the name of that link is.
- You are able to edit the name of the go link or delete it the same way you would any other go link within your workspace.
- If you want to check for a possible go link name before completing the addition of the new page, you can check by typing the name into the GoLinks extension. This will let you know if a go link exists under that name. If not, then your new link will be auto generated without any numbers at the end.
Questions?
If you have any additional questions about our Notion integration, please reach out to support@golinks.io for further assistance.


