Adding the GoLinks Google Calendar integration
- Navigate to your integrations tab.
- You can get here by clicking “Integrations” in the left column of your GoLinks dashboard.
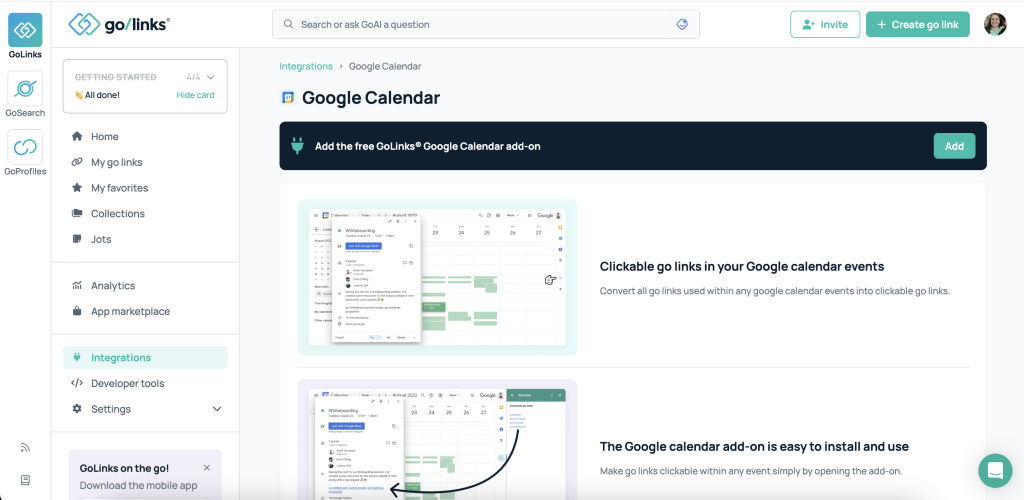
- Once here, scroll down to Google Calendar and select “Learn more”.

- This will take you to the Google Calendar Integration page. You can view the different purposes for this integration here.
- Select the “install” button. As an admin, you can choose to push this out for all users. As an individual user, you can select “individual install”.
- You will be requested to give the integration a series of permissions, these are important for the integration to work.
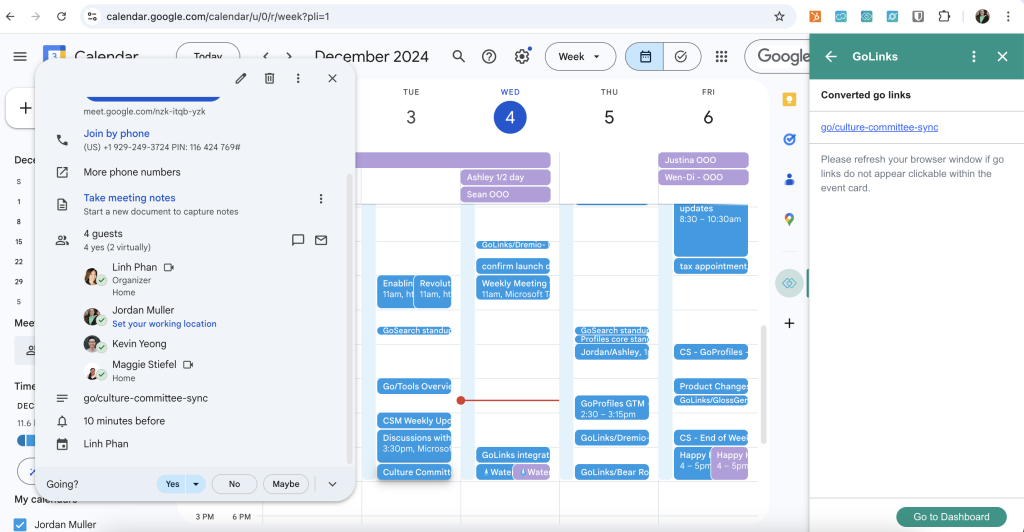
- Once the app is installed, you will be notified. You will be able to find the GoLinks logo on the right hand side of your calendar.

- Be sure to refresh your calendar if you had it opened prior to the download.
Using the GoLinks Google Calendar integration
- Open up an existing event, or create a new event on your calendar.
- In the description, write out a go/link that exists within your workspace.
- With this add-on, you no longer have to manually add the link, it can be done for you.
- Click the GoLinks logo in the right sidebar of your calendar.

- Select the event which you would like to use a go link from.
- All go links used within that event will now be displayed on the right column.
- Each of these is a clickable link that will take you to that go links destination URL.


